
 |
| Stained Glass Snowflake Cookies |
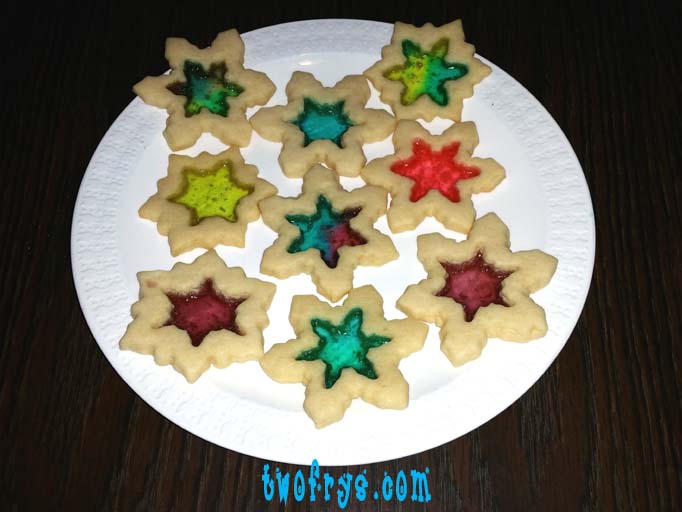 |
| Pretty Stained Glass Snowflake Cookies |
Vanilla Sugar Cookie
Ingredients
2 cups, 4 sticks Unsalted Butter, softened and each stick cut into 8 cubes
2 cups Granulated Sugar
2 Extra Large Eggs
3 teaspoons Pure Vanilla Extract
5 cups King Arthur All Purpose Flour
1 teaspoon Coarse Salt
 |
| Lovely Stained Glass Snowflake Cookies |
 |
| Stained Glass Snowflake Cookies |
 |
| Stained Glass Snowflake Cookies with different colors in each |
Directions
Sift flour and add salt. Combine with spatula; set aside.
Cream butter and sugar in a hand held mixer or stand mixer with paddle attachment on low; about 2 minutes.
Scrape sides of bowl with spatula and mix for a 10-15 seconds.
Add eggs one at a time, mix until incorporated. Scrape sides of bowl and mix for 5-10 seconds.
Add vanilla extract and mix on low until incorporated, about 20-25 seconds.
 |
| Stained Glass Snowflake Cookies |
 |
| Stained Glass Snowflake Cookies |
Roll dough into ball, cover with plastic wrap and chill in fridge for 1-2 hours.
In the mean time, unwrap the candies you will leave whole if you make larger snowflake cookies. Separate the different color candies you are using and place each into a ziploc bag and crush into smaller pieces with a mallet. You can also use a processor. Either way, this will be loud but do it as fast as possible. Set aside until ready to use.
Cut dough into 4 cuts, leaving unused dough covered with plastic wrap in the fridge until ready to use.
Preheat oven to 350 degrees.
 |
| The colors are so pretty |
 |
| Mixing the candy colors is fun |
Cut out snowflakes shapes. I use different sizes and for the center a smaller cutter. Place onto cookie sheets lined with parchment paper and put in freezer for 10 minutes. The cookies hold their shape when you do this.
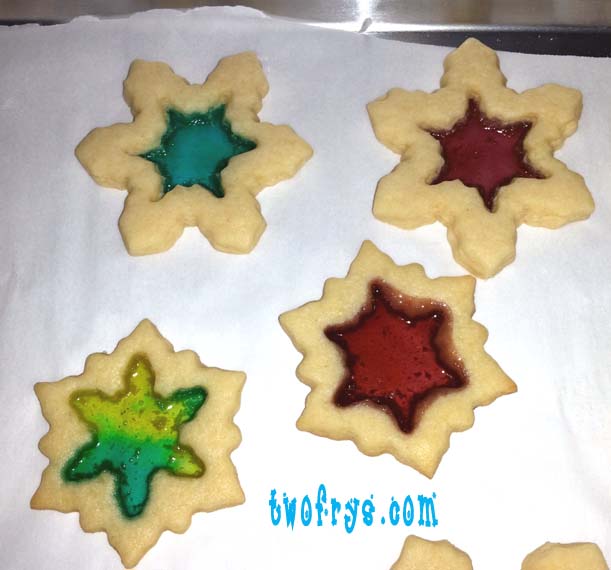
Next, place whole candies and/or crushed in the center. Do not overfill. Fill to edges and brush off any candy that gets on the cookie. Oops, I missed a few. Use a small measuring spoon (1/8 teaspoon) for the crushed candies.
 |
| I love the 'stained glass' effect on the snowflakes |
 |
| Our cookie tin with parchment paper in between in each layer to prevent sticking |
The cookie candy centers will be bubbling when you take them out of the oven, but will harden as they cool.
Cool right on baking sheets for 1/2 hour. The cookies should lift right off the parchment paper or you can use a cookie spatula.
For further information:
Please visit, Sweetopia for the Vanilla Sugar Cookie Recipe:
http://sweetopia.net/2009/12/sugar-cookie-recipe/
Enjoy!
-Sophia/Two Frys
No comments:
Post a Comment
Note: Only a member of this blog may post a comment.