Thursday, October 31, 2019

Halloween Linzer Tarts

Halloween Linzer Tarts


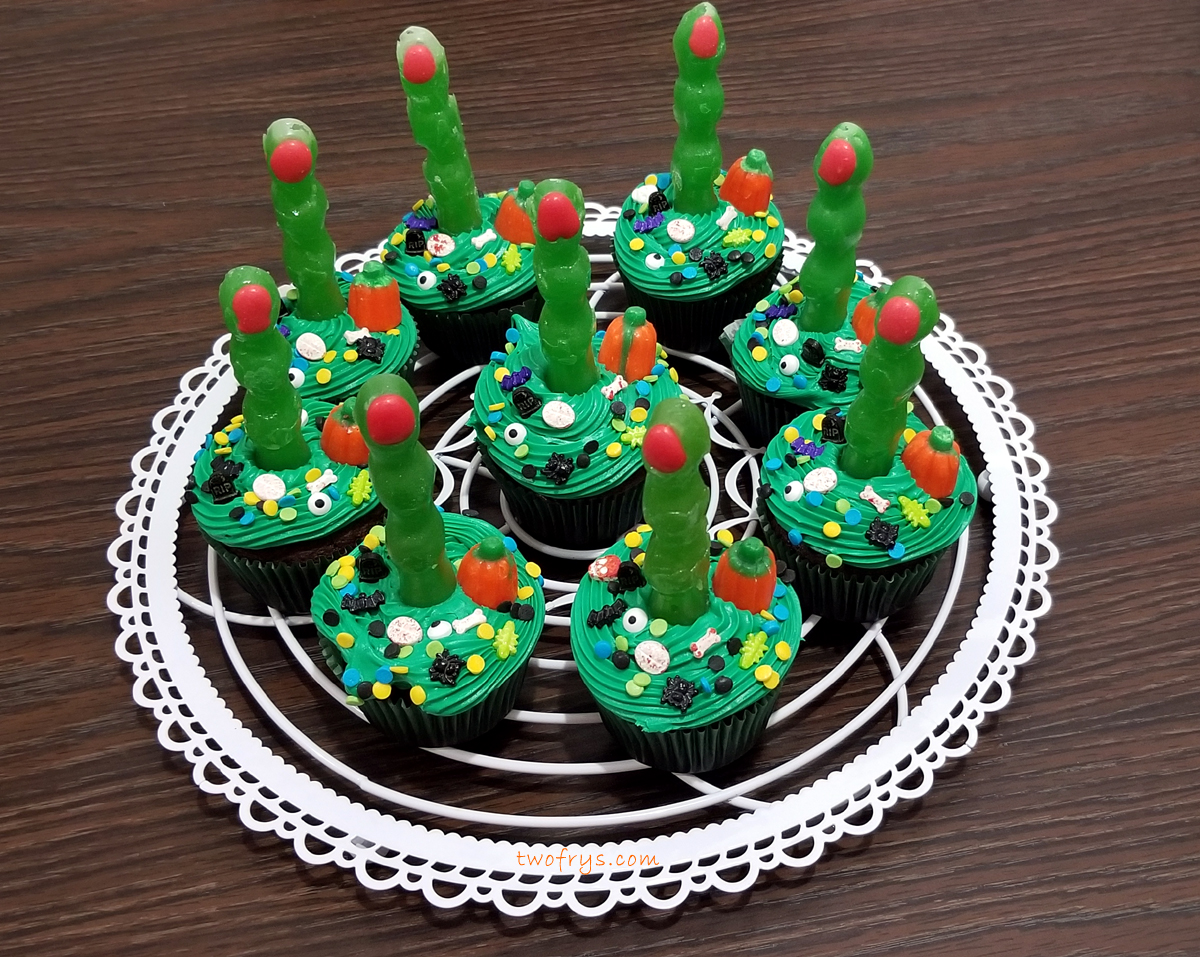
I hope you have a fun-filled and safe Halloween! This is the first time I made Linzer Tarts and the set I bought from R&M International include mini Halloween shapes that are just adorable. I made Linzer witch hats, bats, ghosts, cats, and tombstones. If you never made Linzer Tarts you need to asap! Linzer Tarts originate from Austria from the city of Linz, and in Germany are known as Helle Linzer Plaetzchen. Linzer Tarts consist of two shortbread cookies sandwiched together with a jam filling in the center. The beauty of this cookie is the jam visible in the cutout center of the top cookie that is covered with powdered sugar. Linzer Tarts are named after the Linzer Torte, a pastry with a dough lattice over a jam filling. The texture of this cookie is soft and chewy, and the strawberry jam makes this a divine and buttery treat. You can substitute with any extract (lemon or almond would also work great), and any jam you prefer such as seedless raspberry, orange marmalade, pineapple, blueberry, blackberry, boysenberry, etc. The combinations are endless. See recipe and directions below.

Halloween Linzer Tarts

Yield: 2 Dozen Cookies (depending on size of cutter and thickness of dough)

Ingredients
1 1/3 cups All Purpose Flour

1/4 teaspoon Baking Powder

1/4 teaspoon Coarse Salt

3/4 cup Granulated Sugar

1/2 cup (1 stick) Unsalted Butter, slightly softened

1 Large Egg

1 teaspoon Pure Vanilla Extract

1 cup Strawberry Jam

Halloween Linzer Tarts

Directions
In a large bowl whisk together flour, baking powder and salt; set aside.

Cream the butter and sugar in a hand held mixer or stand mixer with paddle attachment on low; 1-2 minutes. Do not overmix.

Scrape sides of bowl with spatula and mix for 5 seconds.

Add egg and vanilla extract, and mix until incorporated; about 1 minute.

Scrape sides of bowl and mix for 5 seconds.


Halloween Linzer Tarts
Turn off the mixer, add the flour mixture and cover with kitchen towel, and then turn mixer on low speed and incorporate.

The dough is ready when it begins to clump around paddle attachment.

Form into a disk shape and cover with plastic wrap and chill in fridge for 1-3 hours or overnight. I chilled the dough for 2 hours.

Heat oven to 350°F.

Use two sheets of parchment paper with dough in between and roll with rolling pin until desired thickness is reached.


Halloween Linzer Tarts
Cut out dough using a round cutter.

Take half of the cutout cookies and press Halloween or desired shape into the center of each.

Place onto cookie sheets lined with parchment paper, and put in freezer for 20 minutes. The cookies hold their shape when you do this.

Bake 8-12 minutes or until the edges have slightly browned. My cookies baked in 12 minutes.

Oven temps vary so check the cookies at the 8 minute mark.


Halloween Linzer Tarts 

Make sure cookie sheets cool in between baking. I place them in the freezer for a few minutes.

Do not use hot cookie sheets or the cookies will spread and lose their shape.

Wait 5 minutes before transferring cookies with cookie spatula to wire racks to complete cooling; about 1 hour.

Take cookies with the cutout shapes and dust with powdered sugar; set aside.


So yummy!
Spread 1 teaspoon of jam onto each bottom cookie and then top with the cutout shaped cookies and lightly press them together.

Enjoy!

-Sophia/Two Frys

Wednesday, October 30, 2019

Halloween Cupcakes

Halloween Cupcakes


Happy Halloween everyone! I did not have enough time to make Halloween Sugar Cookies this year but made some Halloween Cupcakes: Zombie Finger and Mummy Cupcakes, and Halloween Linzer Tarts. I used Pillsbury Moist Supreme Devil's Food Premium Cake Mix, and two frostings: Pillsbury Vibrant Green Vanilla and Vanilla for the Mummy Cupcakes. I used several Halloween sprinkle decorations to make the Zombie Finger Cupcakes look a little creepy-spooky. I bought the Zombie Finger Sour Apple Lollipops at Dollar Tree when they first started putting out Halloween stuff. These cupcakes were fun and easy to put together and are a great activity to do with your family.

Zombie Finger Cupcakes

Mummy Cupcakes

Ingredients
1 box mix or your favorite Devil's Food Cake recipe

1 container of Green Frosting

1 container of Vanilla Frosting

Candy Eyes for the mummy

Various sprinkles, and candy decorations


Zombie Finger Cupcakes

Mummy Cupcakes

2 Pastry Bags

1 flat decorating tip (I use Ateco 45 to make the mummy cupcakes)

Any pastry tip you like to make a swirl (I use Wilton 6B Open Star)


Zombie Finger Cupcakes close-up

Zombie Finger Cupcakes

Zombie Finger Cupcakes

Directions
Bake cupcakes and cool on wire racks before adding frosting.

Fit tip in pastry bag and fill with the green frosting. Use a clip or rubber band so the frosting does not spill from the top of the pastry bag.


Vanilla Frosting and Candy Eyes

Mummy Cupcakes

Mummy Cupcakes

Make a swirl on each of the zombie finger cupcakes and insert a zombie finger lollipop in the center, and then decorate with desired sprinkles and candy decorations.

To make the mummy cupcakes, use a small offset spatula and dab a light coating of the vanilla frosting over each cupcake and press two eyes into each one.


Zombie Finger Cupcakes close-up

Some of the cupcakes cooled and ready to frost

Easy peasy ingredients - the shortcut route when you a short on time

Fit tip in pastry bag and fill with vanilla frosting. Use a clip or rubber band so the frosting does not spill from the top of the pastry bag.

Make lines going back and forth and up and down to give a mummy effect onto each cupcake.


Mummy Cupcakes

Mummy Cupcakes

Mummy Cupcakes
Cover and let the cupcakes set in the fridge for 2-3 hours.

Let the cupcakes stand at room temperature for 1/2 hour before serving.

Enjoy!

-Sophia/Two Frys

Sunday, October 20, 2019

Heirloom Pumpkin Cookies

Heirloom Pumpkin Cookies


I love making bumpy looking heirloom pumpkin cookies. When I go to my local Stop & Shop I see so many different colors, shapes, and sizes of pumpkins, squash, and gourds. For this post, I saved half of the dough from Pumpkin Maple Fall Theme Cookies. I like to use different sizes and shapes of pumpkin cookie cutters for variation, and last year bought a gourd cutter to add to my collection. This year, I got a triple stack pumpkin cutter and 2 different truck cutters.

Heirloom Pumpkins and Trucks

Heirloom Pumpkins and Trucks

Heirloom Pumpkins and Gourds

Heirloom Pumpkins

For the truck cookies, I dabbed a little royal icing on the back of the pumpkins from Wilton Icing Decorations and carefully pressed onto each truck cookie a day after the icing fully dried.

Heirloom Pumpkins

Trucks and Heirloom Pumpkins

Trucks with Pumpkins

Heirloom Pumpkins and Gourds 

For details on making the heirloom pumpkins check out my post from last year, Pumpkin Spice Cookies: Heirloom Pumpkins, Squash and Gourds.

Royal Icing colors I made

Step 1 of icing Heirloom Pumpkins by sections 

Step 2 of icing the Heirloom Pumpkins

Heirloom Pumpkins

Pumpkin and gourd pics:

Pumpkins and Squash
Gourds and pumpkins

Gourds and pumpkin I bought last year at Apple Ridge Orchards

Recipe adapted from Sweetopia:
https://sweetopia.net/2016/08/recipe-pumpkin-spice-cut-out-cookies/

Enjoy!

-Sophia/Two Frys

Saturday, October 19, 2019

Pumpkin Maple Fall Theme Cookies

Pumpkin Maple Fall Theme Cookies


As I mentioned in my previous post Pumpkin Crinkle Cookies, I am thrilled it is pumpkin pie spice season. I have a jar full of pumpkin pie spice and am baking with the spices of fall. Nothing is better than the smell of pumpkin pie spice coming from the oven. I add a good amount of pumpkin pie spice to my baking as I want it to be prominent and not just a hint of spice. You can reduce the amount if you desire. This is a Pumpkin Maple Sugar Cookie recipe and a new favorite. I made various leaf shapes, acorns, apples, sunflowers, and wafer paper fall designs. Also, a few owls with some chocolate sugar cookie dough I saved from a previous recipe. Click here for my Pumpkin Pie Spice Recipe. 

Pumpkin Maple Fall Theme Cookies

Pumpkin Maple Fall Theme Cookies

Yield: 3 1/2-4 Dozen Cookies (Depending on cutter size and thickness of cookie)

Ingredients
5 cups King Arthur All Purpose Flour

2 cups Domino Golden Sugar (or Granulated or Light Brown Sugar)

3 1/2 teaspoons Pumpkin Pie Spice

1 teaspoon Coarse Salt

1/4 cup Pumpkin Puree

2 cups (4 sticks) Unsalted Butter, softened

2 Large Eggs

1 teaspoon Maple Extract

Wafer Paper Fall Designs

Sunflowers and Apples, messed up stencil (used too much icing)

Directions
In a large bowl whisk together the flour, pumpkin pie spice and salt; set aside.

Cream butter and sugar in a hand held mixer or stand mixer with paddle attachment on low; 1-2 minutes. Do not overmix.

Scrape sides of bowl with spatula and mix for 5 more seconds.

Add pumpkin puree, eggs, and maple extract, and mix until incorporated; about 1 minute.

Scrape sides of bowl and mix for 5 seconds.


Fall Theme Cookies

Fall Theme Cookies

Turn the mixer off and add the flour mixture. Cover the mixer with kitchen towel, and turn on low speed and incorporate.

The dough is ready when it begins to clump around the paddle attachment.

Form dough into a disk shape and cover with plastic wrap and chill in fridge for 1-3 hours or overnight. I chilled the dough for 2 hours.

Heat oven to 350°F.


Fall Theme Cookies

Fall Theme Cookies
Use two sheets of parchment paper with dough in between and roll with rolling pin until desired thickness is reached.

Cut out shapes.

Place onto cookie sheets lined with parchment paper, and put in freezer for 20 minutes. The cookies hold their shape when you do this.

Bake 8-13 minutes or until the edges have slightly browned. My cookies baked in 13 minutes.

Oven temps vary so check the cookies at the 9 minute mark.


Fall Theme Cookies

Owl Cookies
Make sure the cookie sheets cool in between baking. I place them in the freezer for 5 minutes, and repeat until all the dough is used.

Do not use hot cookie sheets or the cookies will spread and lose their shape.

Wait 5 minutes before transferring cookies with cookie spatula to wire racks to complete cooling; about 1 hour.

Decorate once the cookies are cool to the touch.


Ingredients

Domino Golden Sugar

Large Batch Royal Icing
Ingredients
8 Egg Whites

8 teaspoons Lemon Juice, freshly squeezed

12 cups Powdered/Confectioners' Sugar, sifted

1 tablespoon Clear Vanilla Extract


Yummy Pumpkin

Use kitchen towel after you add the flour; prevents a mess!

Directions
In a large bowl, sift the powdered sugar; set aside.

Separate the yolks and add the egg whites in a bowl.

In a bowl, whisk together the egg whites and lemon juice.

Transfer to a stand or hand held mixer with paddle attachment and mix on high for 1-2 minutes.

Add the vanilla extract and mix for 5-10 seconds.

Pumpkin Maple Sugar Cookie Dough

Lemon Juice and Egg Whites combined and going into mixer

With the mixer off add the sifted powdered sugar, cover the mixer with a kitchen towel, and turn the mixer to low speed and beat until smooth.

The consistency using this recipe is thick and great for borders and detail work.

If you need a both a border and flood-like consistency keep reading below.

If you only need flood consistency icing, add 1/2 teaspoon of water and mix for 5-10 seconds, and repeat until you reach the right consistency. Be careful that your icing does not become too runny or you may have to start over.

I found the best way to make royal icing is to first separate the icing in plastic containers with lids according to the different colors needed. I save the containers when I order soup from Chinese takeout. These containers are great for icing. You can also use Tupperware or Pyrex.

Keep the containers or Tupperware/Pyrex covered until you are ready to color. Royal Icing hardens fast.


Royal Icing in bottles and tipless bags

Cookies on wire racks to cool

I use Soft Gel Paste Food Color in various colors.

Use 1-2 drops at a time until you reach the desired color. Icing color darkens over time so use as little as possible.

Once you have the colors completely mixed in each container, take the amount you need of the border icing consistency and transfer into icing bottles or tipless bags.

Then with the remainder of the icing, use a spritz bottle with water to make flood consistency icing.

Just spritz one or two times in the container and stir together with a small spatula or spoon. A little water goes a long way. This works for me and I get the flood consistency I need. This part takes some practice and patience. Lastly, transfer the flood icing into icing bottles or tipless bags.

I find doing it this way is easiest as you end up with the same color for both the border and flood consistency.


Some tools I use when decorating cookies

Leaves changing colors

Decorate your cookies.

Do a border and then fill it immediately. If you are adding layers let the first layer dry completely.

I use a cookie stick to reach edges, and the tip to pop any air bubbles.

I let the cookies dry overnight. Do second layers on day 2.

Please keep in mind if you are baking and it is humid, you may need more time for the cookies to dry.

Enjoy!

-Sophia/Two Frys