Happy Valentine's Day. A few months ago, I ordered strawberry extract as I had this recipe in mind. The cookies came out amazing with a chewy texture, and tastes like strawberries in cookie form. Adding a little cream makes these cookies taste a little like strawberries and cream.
Yield: 2 to 3 Dozen Cookies (depending on cutter size and thickness of dough)
 |
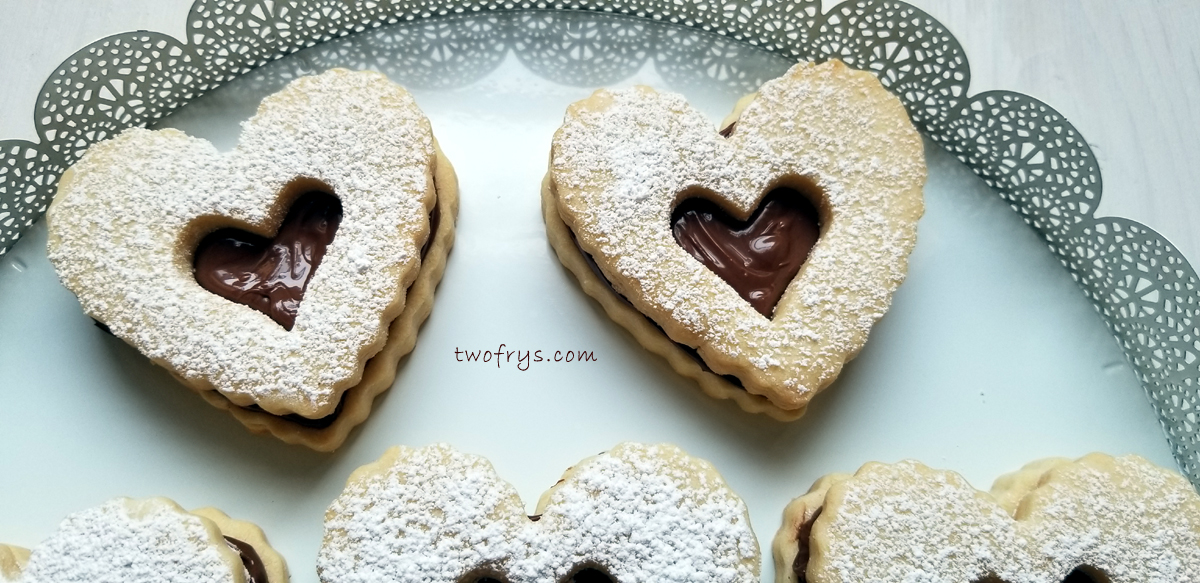
| Valentine's Day Strawberry Cookies |
 |
| Valentine's Day Strawberry Cookies |
Ingredients
3 cups King Arthur All Purpose Flour
1 1/2 cups Granulated Sugar
1/2 teaspoon Coarse Salt
1 cup, 2 sticks Unsalted Butter, softened
1 Large Egg, room temperature
1 tablespoon Heavy Cream (or Whole Milk)
3 teaspoons Strawberry Extract
 |
| Valentine's Day Strawberry Cookies |
 |
| Yummy tasting strawberry cookies |
Directions
Whisk together the flour, and salt; set aside.
Cream butter and sugar in a hand held mixer or stand mixer with paddle attachment on medium speed; 1-2 minutes. Do not overmix.
Scrape sides of bowl with spatula and mix for 10 seconds.
Add egg, strawberry extract, cream (or milk), and mix until incorporated.
Scrape sides of bowl and mix for 5 seconds.
Turn the mixer off, and add the flour mixture, and then cover with a large kitchen towel and on low speed incorporate.
 |
| Valentine's Day Strawberry Cookies |
 |
| Pretty strawberry lips |
Roll dough into disk shape, cover with plastic wrap and chill in fridge for 1-2 hours or overnight.
Take half of the dough leaving covered unused dough in fridge until ready to use.
Heat oven to 400°F.
Use two sheets of parchment paper with dough in between and roll with rolling pin until desired thickness is reached.
 |
| Lovely hearts and they taste so good |
 |
| Trying to stencil |
Place onto cookie sheets lined with parchment paper, and put in freezer for 20 minutes. The cookies hold their shape when you do this.
Bake 8-12 minutes or until the edges have slightly browned. My cookies baked in 12 minutes.
Oven temps vary so check at the 8 minute mark.
Wait 5 minutes before transferring cookies on wire racks to complete cooling; about 1 hour.
Decorate once cookies have cooled completely.
 |
| Red strawberry hearts |
 |
| Pretty hearts |
Royal Icing
Ingredients
1/3 cup Meringue Powder (I use Genie's Dream Meringue Powder)
1/2 cup Warm Water
1 tablespoon Clear Vanilla Extract
7 1/2 cups, 2 lbs. Powdered Sugar, sifted
 |
| Hearts |
 |
| Valentine hearts |
Directions
In a bowl, whisk together the meringue powder, and warm water until frothy.
Transfer to a stand mixer with the whisk attachment and mix for 3 minutes. Do not over mix.
Turn off the mixer and add the powdered sugar, and cover with a large kitchen towel. On low speed incorporate and then turn to high speed and mix for 3 minutes.
Add the vanilla extract and mix for 15-20 seconds.
This icing is thick and perfect for detail and stencil work.
 |
| Yummy hearts |
 |
| I love the edible gold glitter |
I use Gel Paste Food Color in various colors. Start with 1-2 drops at a time until you have the color you need and stir with spatula until combined.
I place the thick icing I need of each color and immediately transfer to tipless bags and/or icing bottles.
 |
| Mini strawberry hearts |
*Be careful adding water as too much can cause the color to bleed, and you do not want the icing runny.
Keep the other containers covered.
 |
| Icing in tipless bags |
I use a cookie stick to reach edges and to pop any air bubbles.
Add sprinkles: sanding sugar, coarse sugar, jimmies, confetti, quins, sugar pearls, nonpareils, dragees, etc... over wet icing.
 |
| My sprinkles set up for these cookies |
If it is humid, you may need more time for the cookies to dry. A fan will help dry the icing.
To order Genie's Dream Premiun Meringue Powder, visit The Cookie Countess:
https://www.thecookiecountess.com/collections/genies-dream-meringue-powder
Enjoy!
-Sophia/Two Frys